What to Know Before Fitting a Shower Screen Yourself
Fitting a shower screen looks like a quick afternoon job, but a lot can go wrong once you start drilling into tiles and dealing with walls that aren’t quite straight. Get the prep right and you’ll save yourself a leak and a re-do.
Waterproofing Comes First, Always
Before you touch a single bracket, sort out the waterproofing. If water gets behind the screen and into the wall, you won’t notice for weeks, and by then you’re looking at damp plaster or rotten timber. The seal between the screen and the wall is the only thing standing between you and that problem.
You’ll need a good silicone, and not just any tube from the shed. Use a sanitary silicone that’s labelled mould-resistant and made for wet areas. Avoid general-purpose silicone, which can go black with mildew within months. Run a clean, continuous bead down the wall edge and along the base, then smooth it with a wet finger or a profiling tool. Let it cure fully before the shower gets used, usually a good 24 hours.
One thing people forget is that silicone won’t stick to a dusty or damp surface. Wipe everything down with a bit of methylated spirit first, let it dry, then seal. A clean surface makes all the difference to how long that seal lasts.
Glass or Acrylic for a DIY Fit
This is where your choice of material really matters. Glass screens look lovely but they’re heavy, sharp and completely unforgiving. If you’ve measured wrong or the wall isn’t plumb, a glass panel will show every gap and there’s no trimming it down. Lifting one on your own is also a genuine risk.
Acrylic panels are a different story. They’re far lighter, safe to handle solo and easy to cut if you need to shave a few millimetres. The trade-off is that acrylic scratches more easily than glass, so you’ll want to be careful with abrasive cleaners later on.
For most people fitting a screen without a second pair of hands, the lighter material is the smart pick. You can order clear perspex cut-to-size so the panel arrives ready to fit, which removes a lot of the cutting risk at home. Make sure to measure twice before you order anything. Most made-to-measure suppliers work to a tolerance of around a millimetre, so your numbers need to be right.
Brackets and Wall Fixings
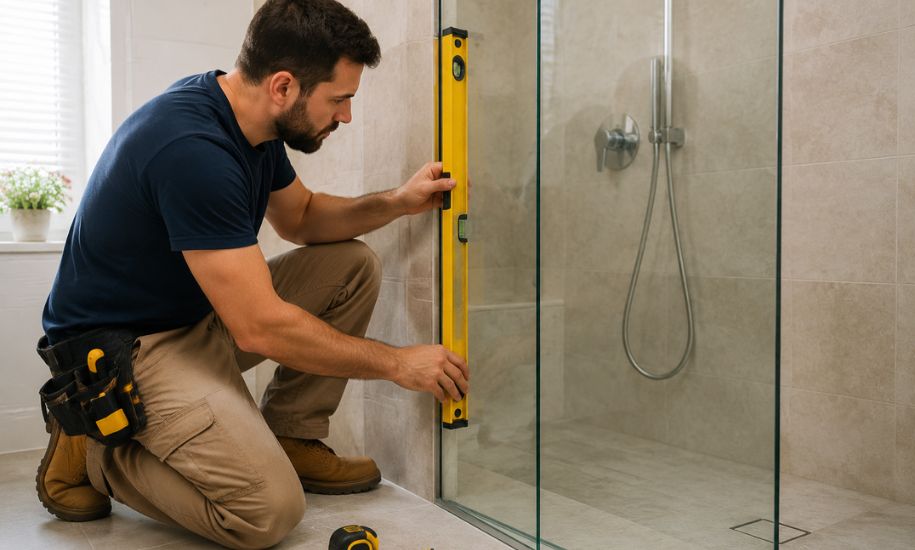
Most screens fix with a wall channel or a set of brackets that the panel slots into. The channel needs to be dead vertical, so use a spirit level and don’t trust the tiles to be square, because they often aren’t.
When you drill into tiles, go slowly and use a proper tile or masonry bit. A bit of masking tape over the drill spot stops the bit wandering and chipping the glaze. Always use the right wall plugs for the surface behind, whether that’s plasterboard, brick or a tiled stud wall.
Here are the measuring mistakes that catch people out most often:
- Measuring at only one point instead of top, middle and bottom, missing a wall that bows.
- Forgetting that the wall may lean, so the gap at the top differs from the bottom.
- Ignoring the tile lip or any uneven grout lines at the base.
- Not allowing room for the silicone bead in the final fit.
Closing Thoughts
Most shower screen problems come down to rushing the prep. Take your wall measurements at several heights, pick a material you can handle safely, and don’t skimp on the sealing. If you order the panel cut to your exact sizes, you remove the trickiest part of the job and leave yourself with a clean fit and a screen that keeps the water where it belongs.
You may also visit: Home Improvement.